
Using 3d printers to Repair a Shift Cover
2011 Nissan Sentra (B16/Sixth Gen)
Let you in on a little secret, it gets hot in Texas, really hot. In the post we will create a shift cover for a six speed Nissan Sentra which was destroyed by the Texas heat.
Here we’ll go from start to finish to create a whole new one from scratch, all for around $1-$2.
Using a 3d printer, open source software such as Blender, Gimp, & Cura, reference photos, and a little bit of patience, we will gussy up this poor little shifter knob.
You can download Blender, GIMP, Cura, & Chitubox through their links, all free software (Chitubox requires free registration). They all run on Mac, Linux, and Windows.
Note: Click on any image to view a large version

01
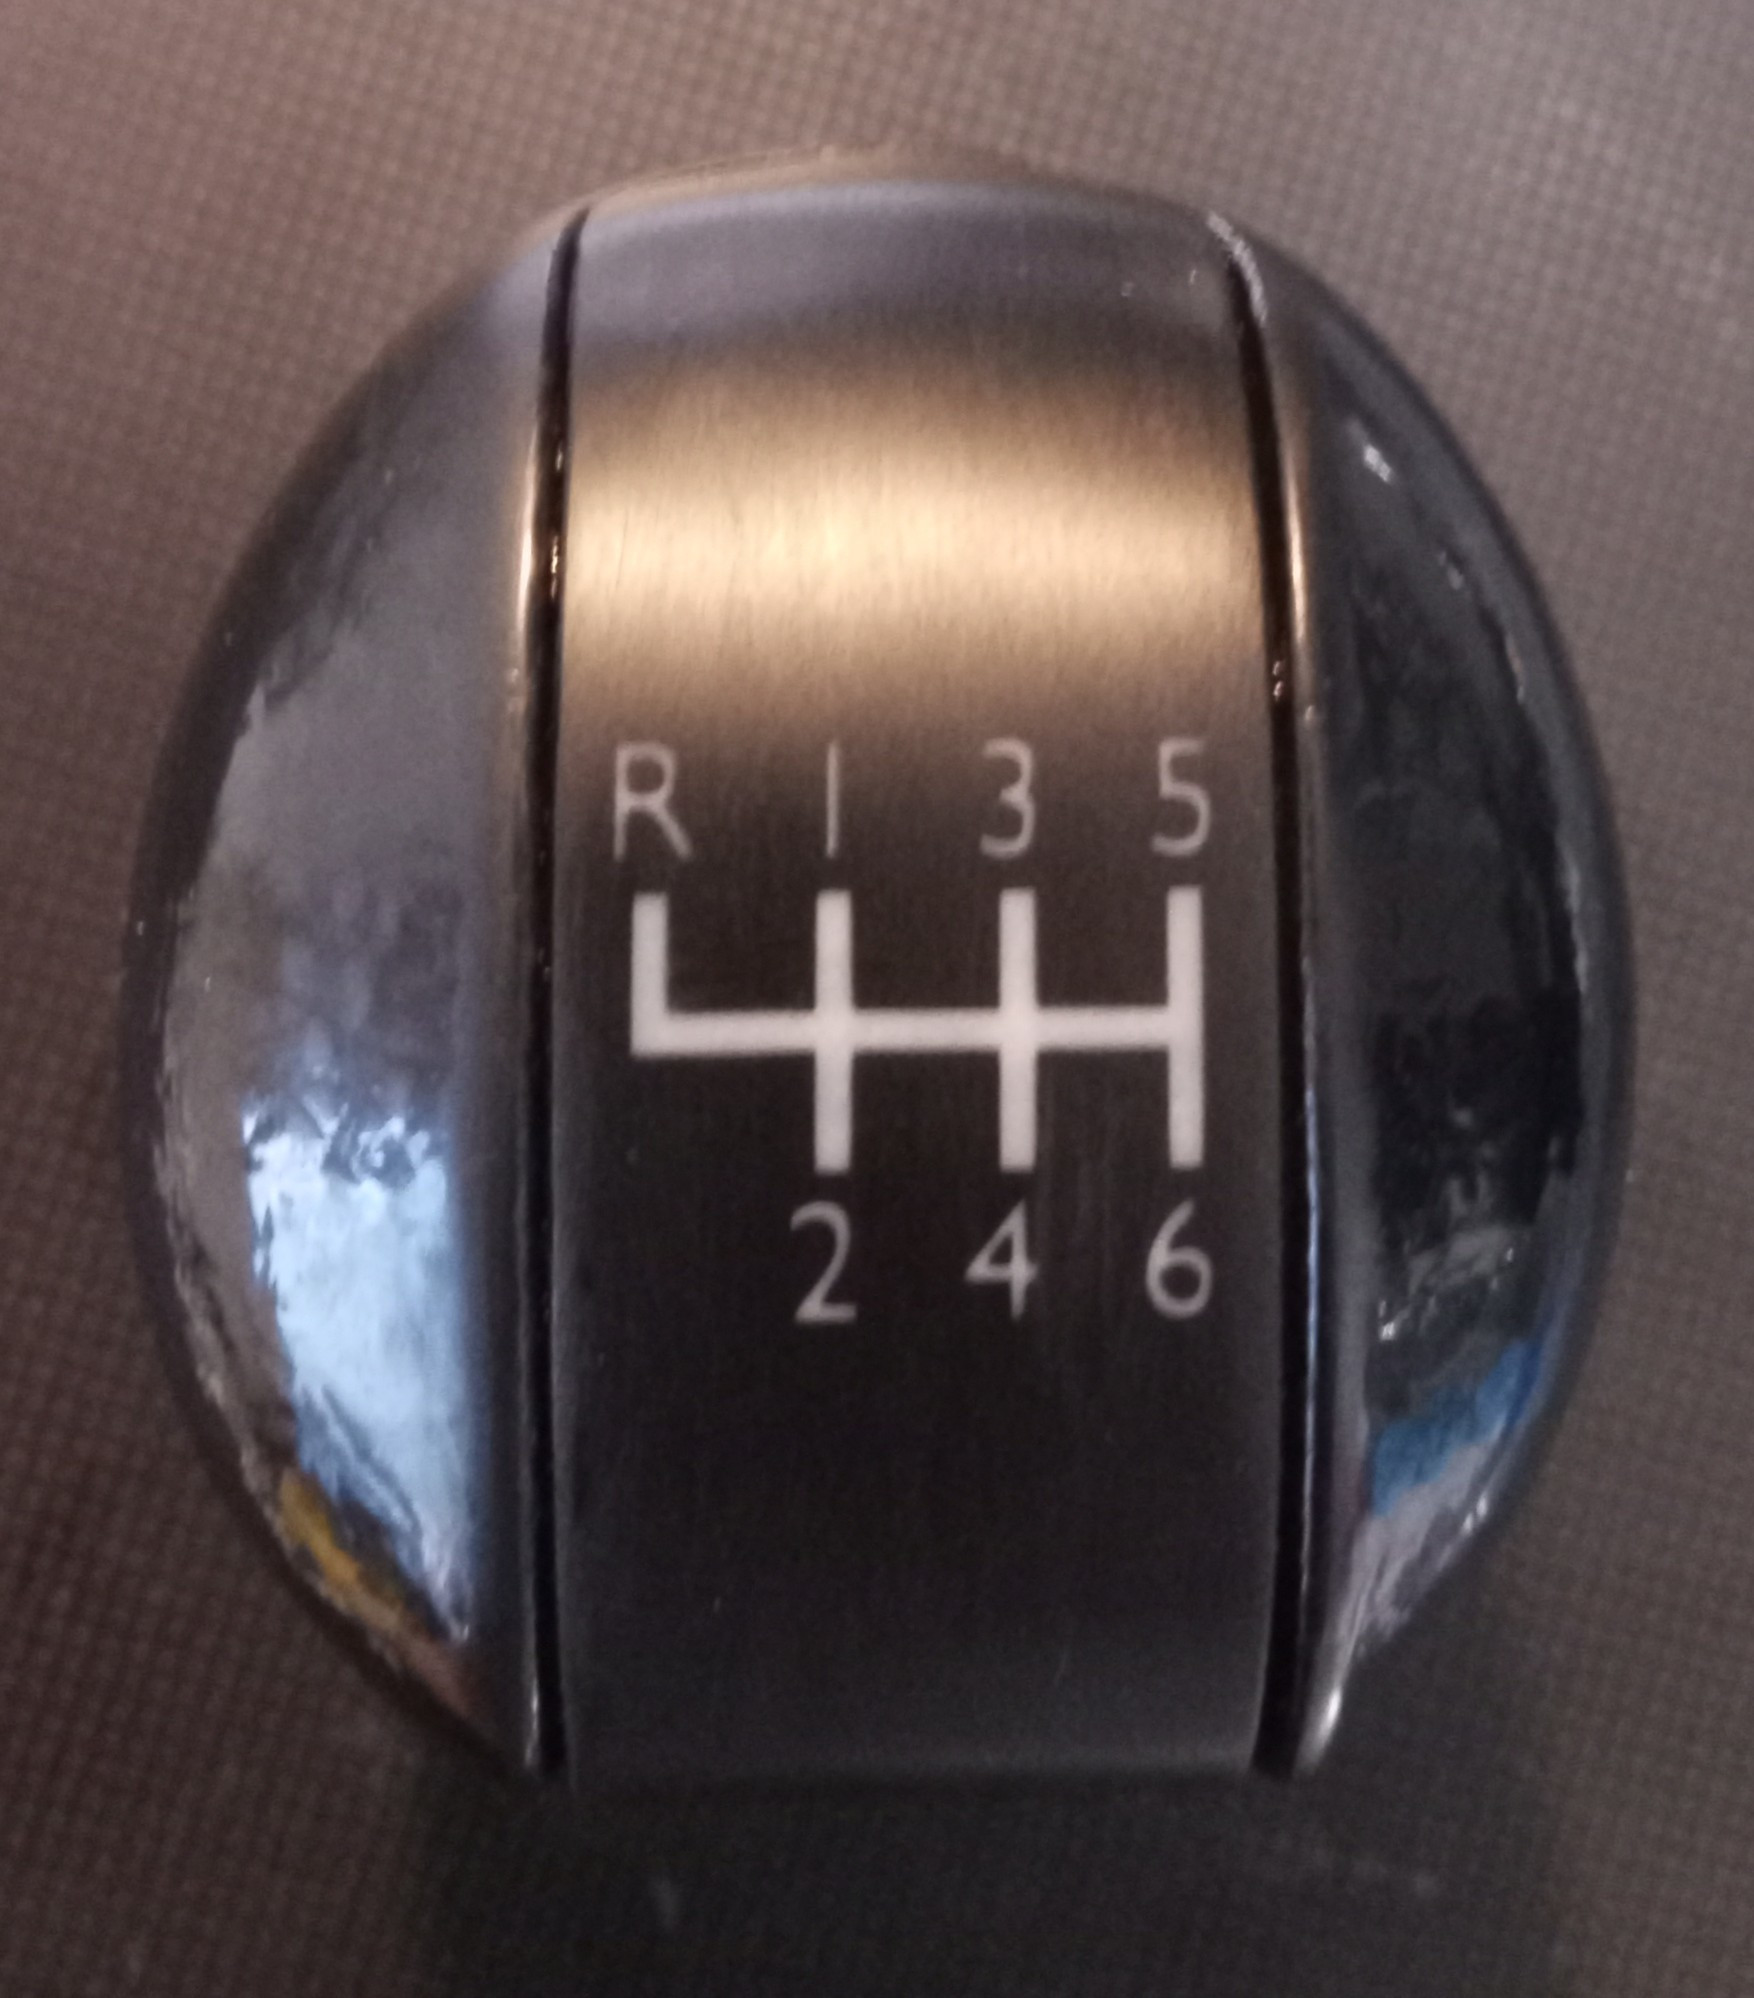
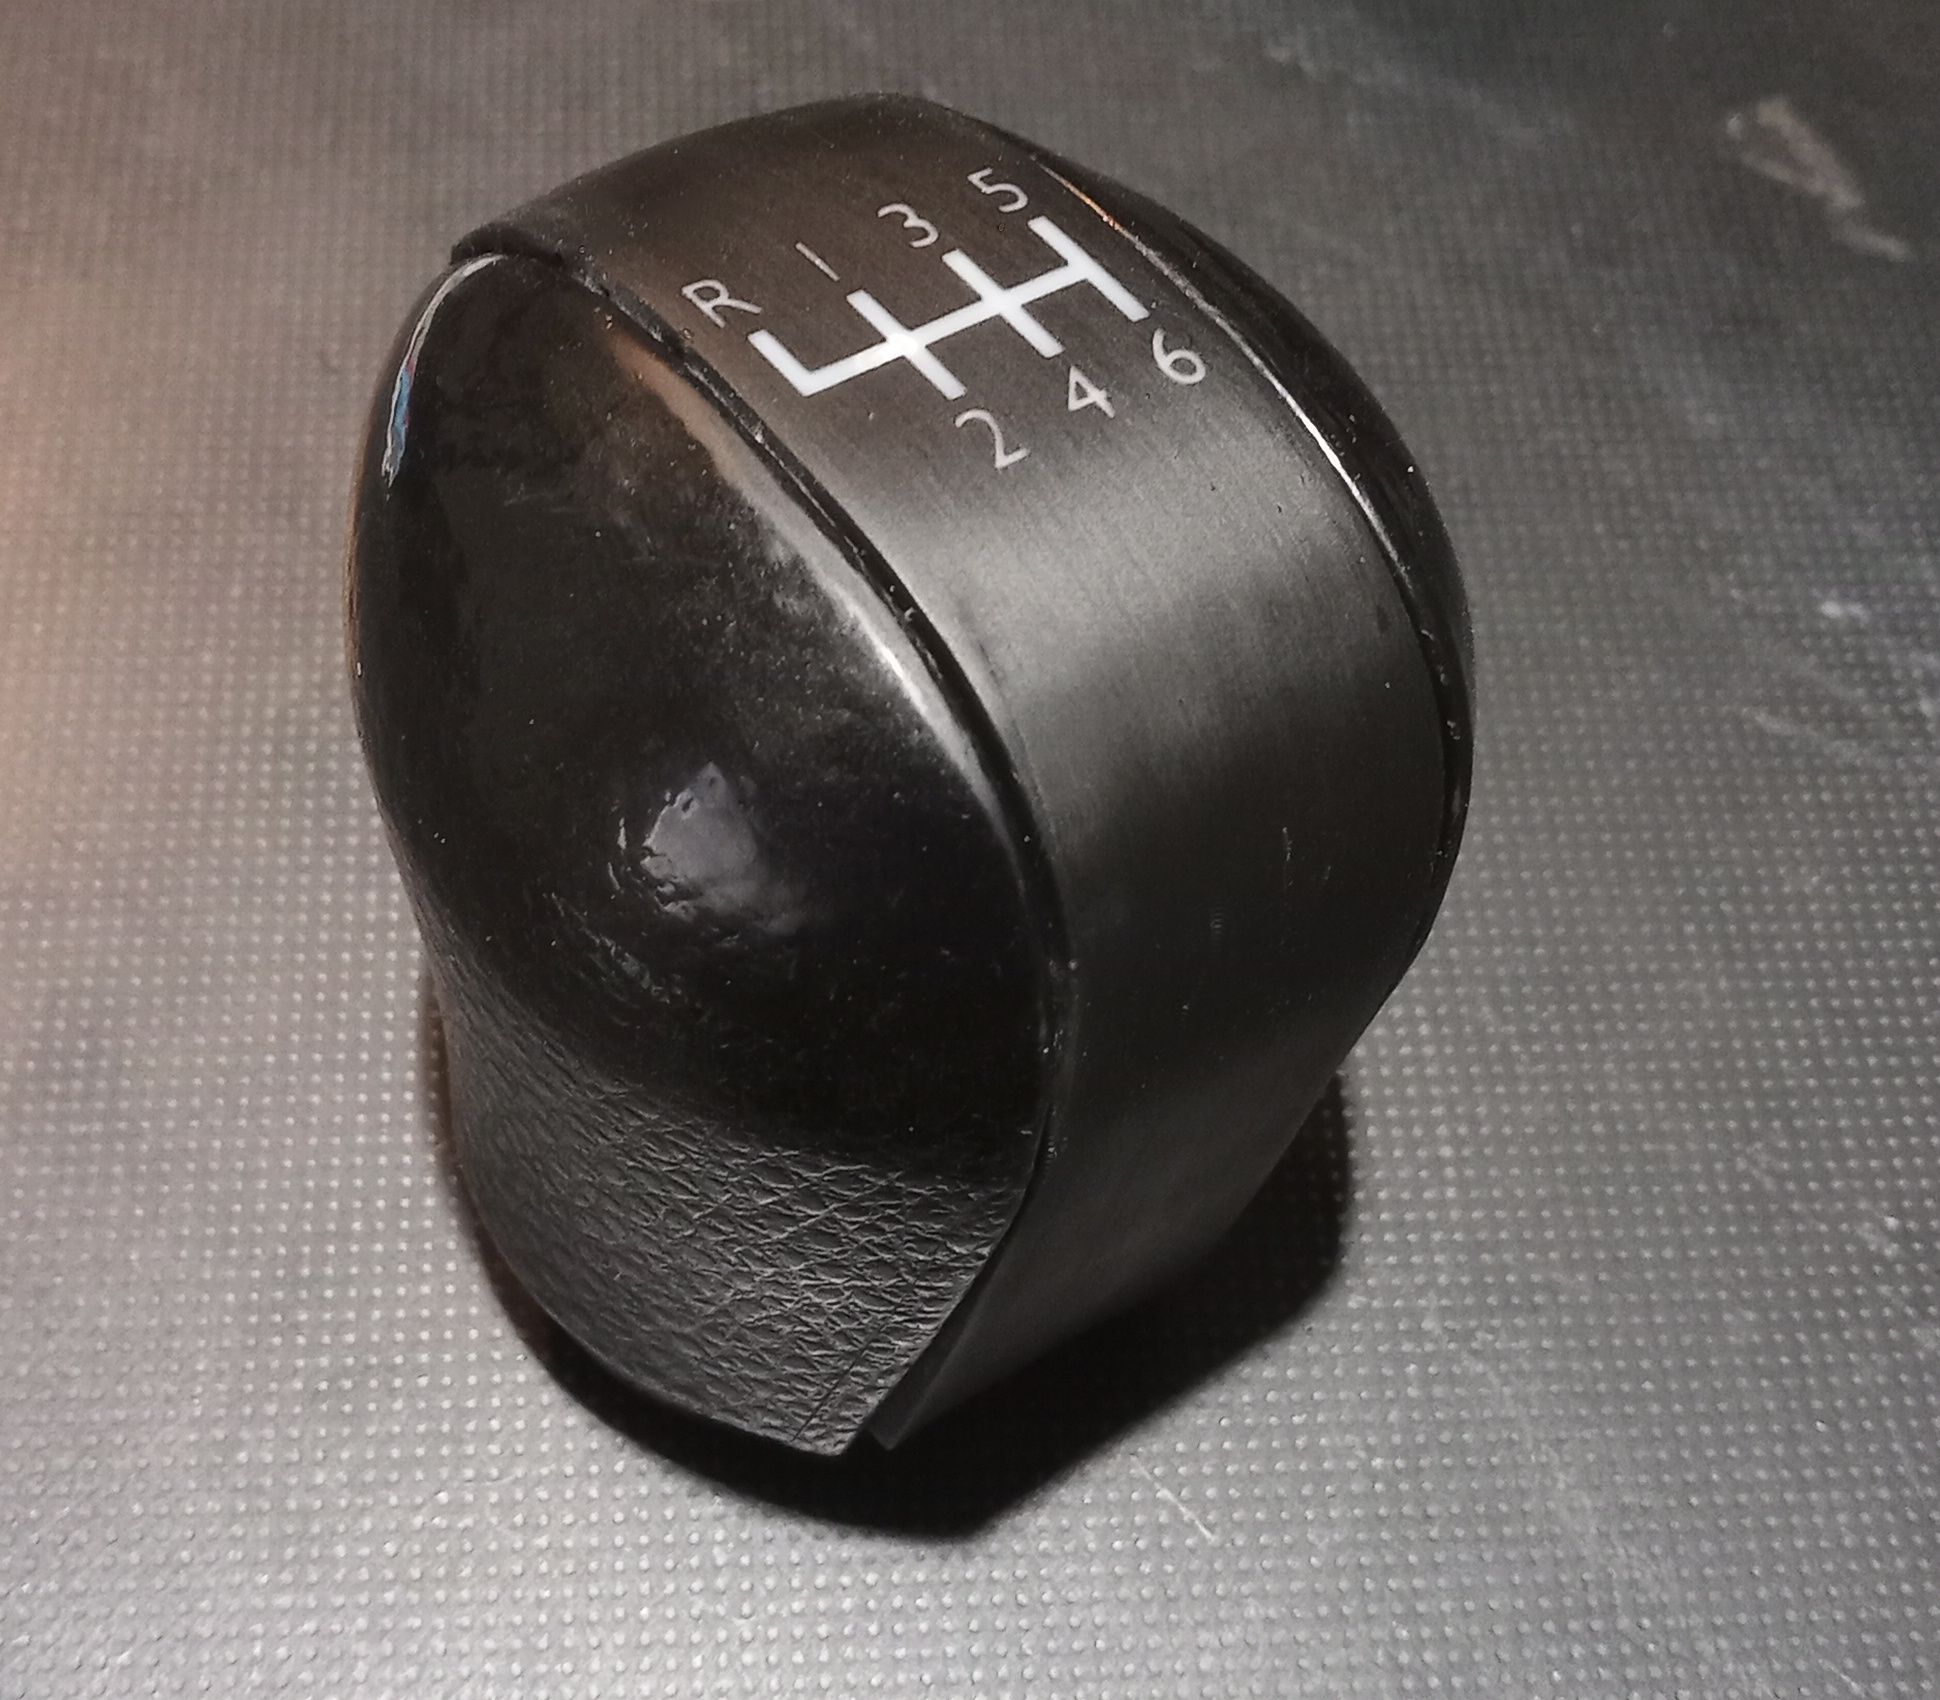
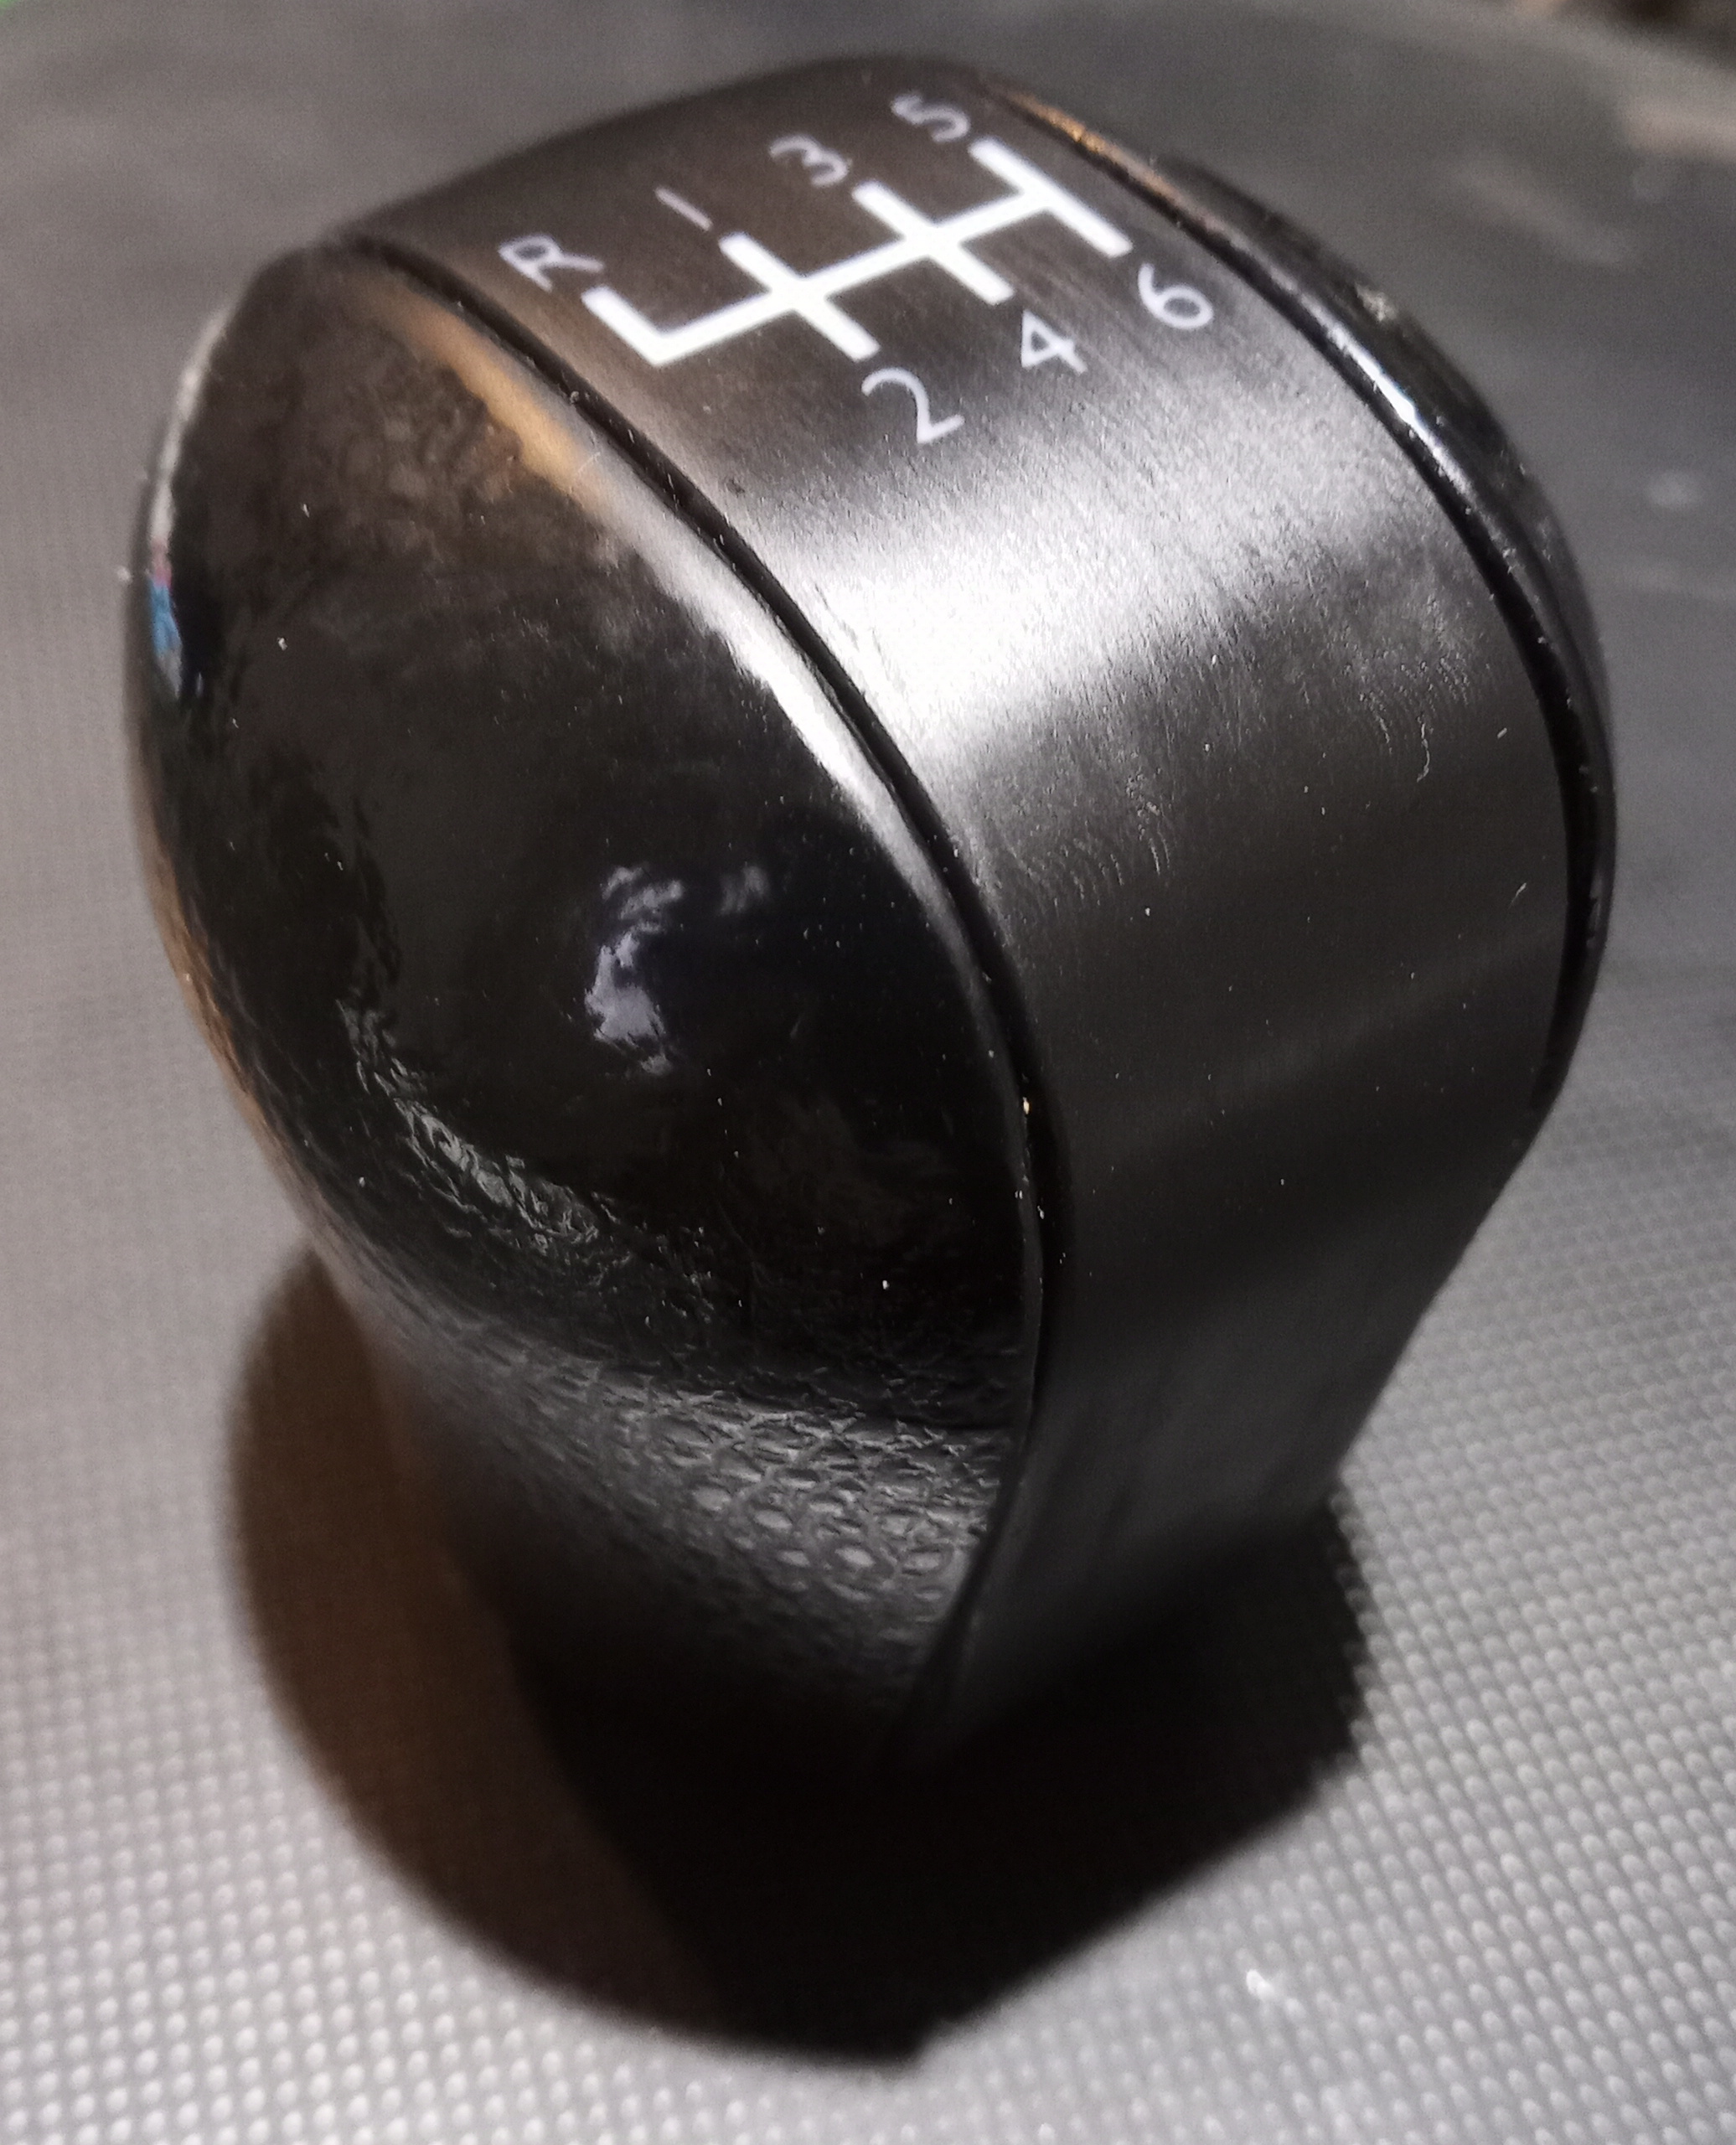
Reference photos
First we will need to take the photos to import into our modeling software. The crop them in Gimp, and then import them as reference photos in Blender
Reference photos

Cropping in GIMP

Imported in Blender on correct planes

02
Setting scale and adjusting references, and first modeling
Okay, we have taken the time to get clear, cropped reference photos, and imported them into blender using orthographic mode and setting the correct orientation using the (CTRL+)1/3/7/9 on the number pad.
Now, we must set the scale in blender and adjust the reference photos to represent the real world.
Setting Scale in Blender to mm

Here we set the dimensions of the cube to the 3 dimensions we took with a caliper of the shift knob. (This step must be precise). We then scale/move each image (using num pad and ortho. view) to fit nicely into the cube. Take your time here!

If the above step is an issue, you may need to change the opacity of the images. The cube may also be moved only on one axis, but should be zeroed to the origin again for each view.

Modeling
We then create a plane, delete two vertices, and position accurately in front/back/side views. Then we use Extrude (E) in orthographic side view to the shape of the shift knob. Use front and back views to see where to start and stop.
(NOTE: this image was taken after many iterations, the first version was perfectly aligned to the image and was a slight bit off. The far left vertices are a loop cut which was Scaled (S) to ad a curve to the shape.)

03
Procedural Shaping
Now that we have a 2.5d plane, we can start to add some thickness and features.
Subdivision and Solidify (Smooths and thickens, making a 3d object)

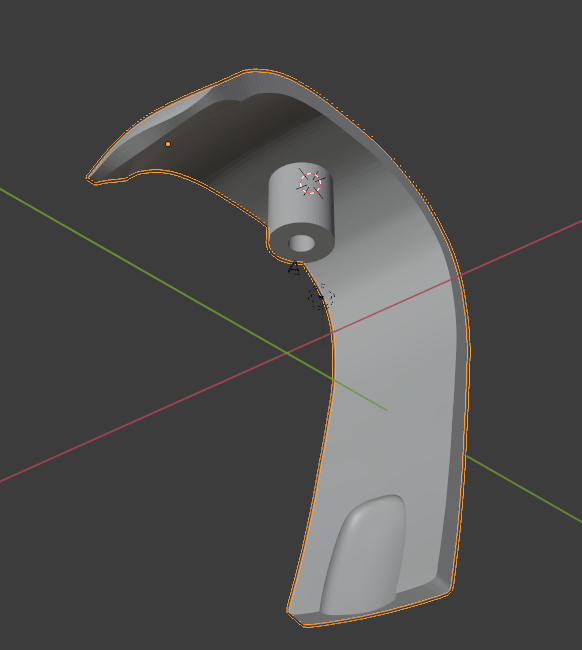
Model the shift numbers, screw hole and miscellaneous bits which need to be cut out or added to our basic shape


Apply bool(Union & Difference) modifiers
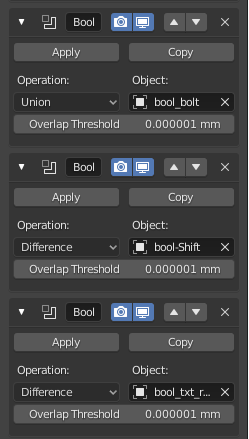
Finally we have the result:

04
Exporting and Slicing
Now we are ready to export the file to STL and plug in to Cura for the prototype prints.
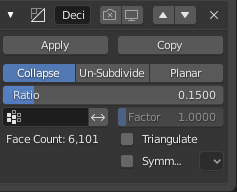
To limit the STL file size, I recommend a decimate modifier. Also this can prevent the FDM style printers from becoming overloaded by too many points. This removes 85% of the geometry and still maintains the curves, shapes, and dimensions.
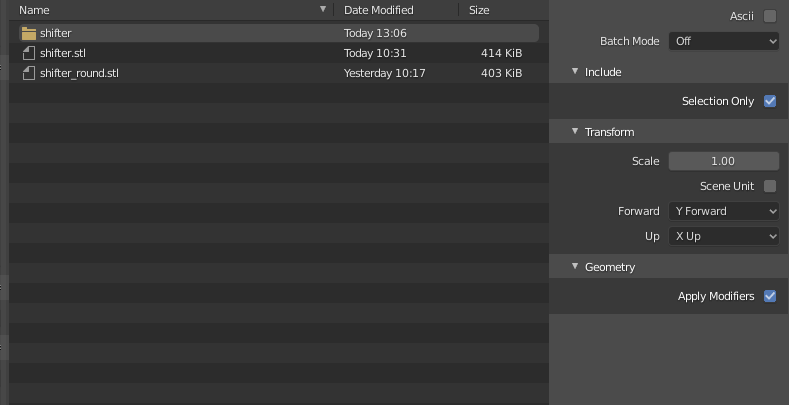
In Blender, export as STL (now the scale setting from step #2 is important here)
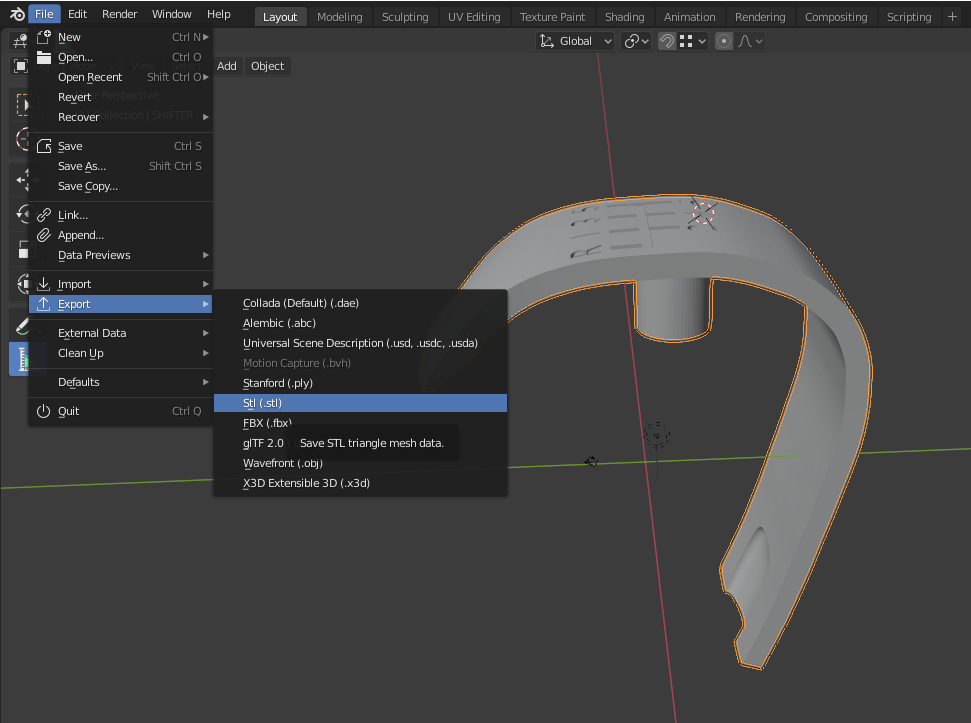
Make sure to set “Selection Only”, “Apply Modifiers”, & Transform, UP to “X UP”
Now, drag into Cura and set High Quality, choose to add supports, block supports which may be unnecessary, and set adhesion to “raft” (otherwise it risks not sticking). It is about a 1hr print.

05
First Printing & Fitting
While our final goal is the print in a resin printer, we will print in our Creality Ender 3 becuase it is quick and cheap in comparison.
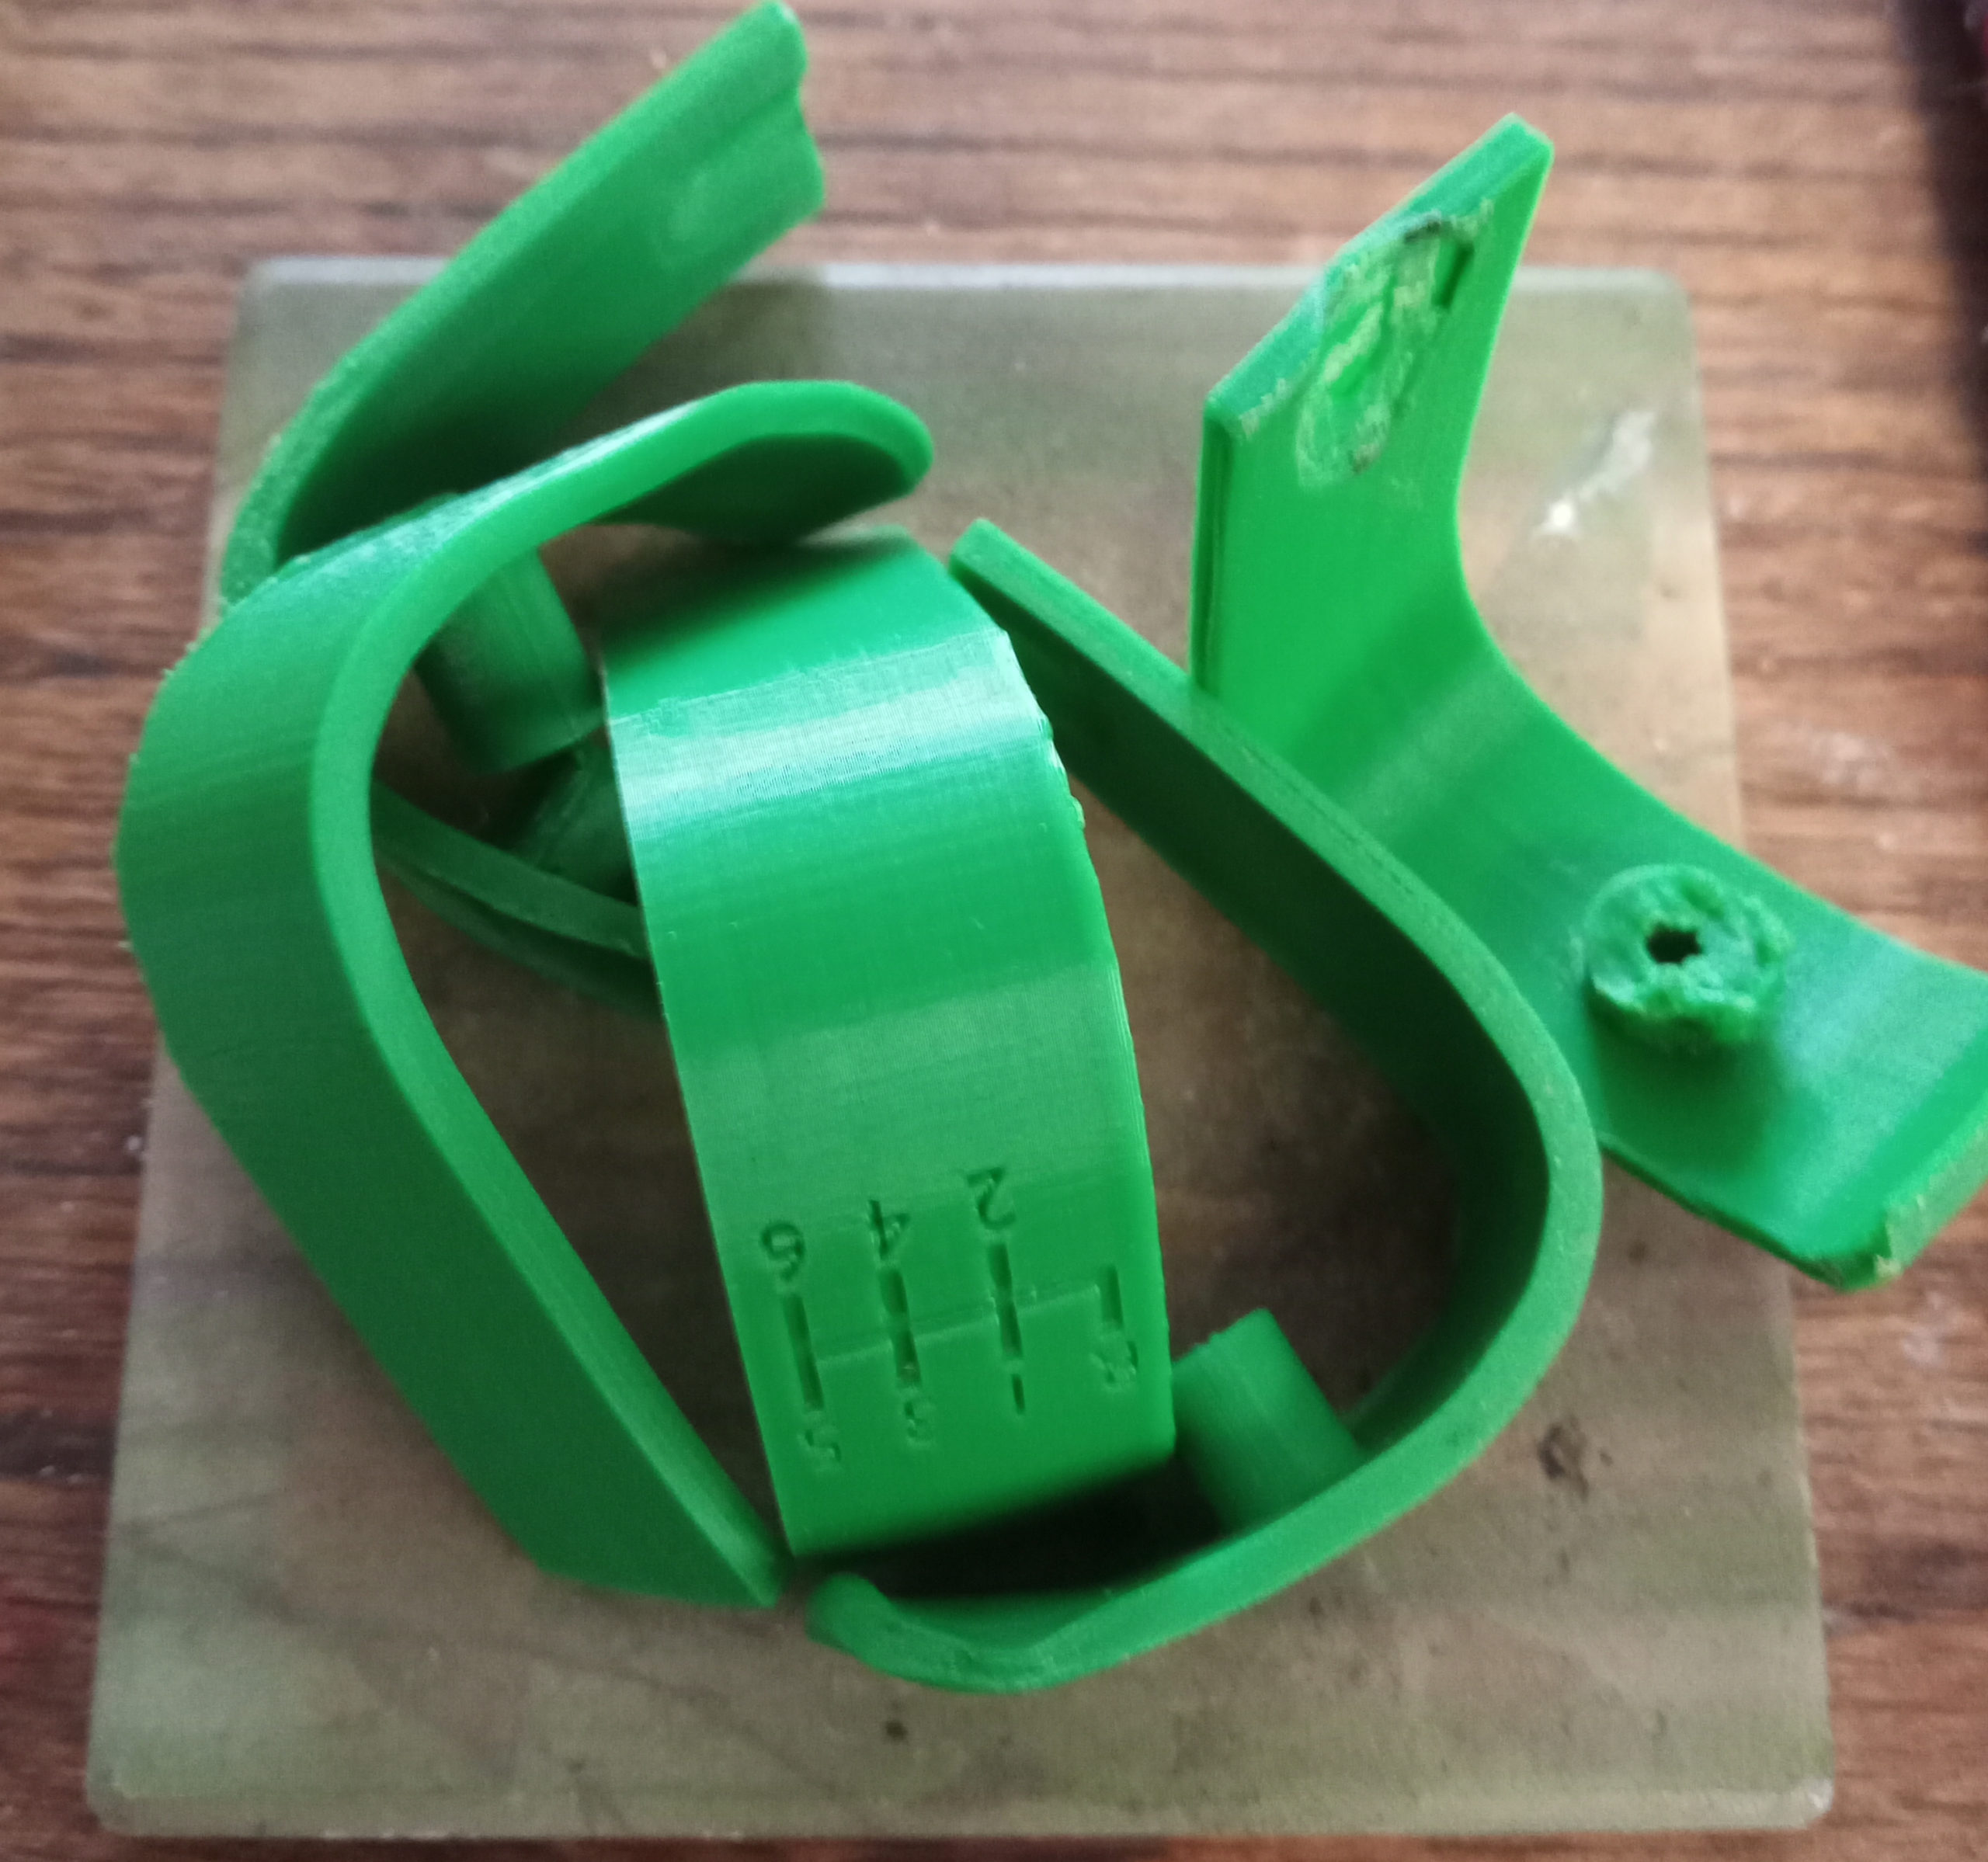
Just finished printing. Green was loaded up so green it is!

Checking fit and seeing where it is too short/long, or curved incorrectly


06
Fixing Model
After taking precise measurement of the prototypes short…or long comings, then we use the proportional editing tool in blender.
In my case, I went through steps #05 & #06 about 5 times resulting in 5 fit tests. Extended end points, moved bolt shank, and took larger recess cuts out after adjusting my prints.
Proportional Editing (O), select two vertices, and then Move (G), constrained to one axis (Y in this case)(Y hotkey)

Pile of progress
07
Resin Printing (Slicing, Printing, Post Processing)
In order to get superb results, and with stand the Texas heat (PLA “melts” in a hot car) I decided from early on I’d print in my Elegoo Mars SLA printer. (The Creality LD-002R would work just the same for this purpose)
Slicing in Chitubox
I give the it a slight rotation so it’ll be off the build plate (Elegoo Mars, while awesome, has a flaw where anything touching the build plate loose 1-2mm in height, making precision impossible)
Also add some supports around 1mm in width.
Slice, and then load on the USB stick.


Resin Printing
We level our build plate, clean everything with a microfiber cloth, load up the resin and press print! 3 hrs later here is what we have:


Post Processing and Finishing
Scrape off the build plate into some denatured alcohol (Isopropyl is best, but too expensive right now due to 2020 being the most interesting year)

Shake in a bowl filed with the denatured alcohol, removing excess resin.

UV cure for some time. I made this unit with some parts I purchased off of Amazon. The solar power tray spins with the UV lights.

08
Conclusion
To finish off the part, I grabbed the white resin for my printer and used a small tool to pick up drops of resin fill the recessed portion with the shift number diagram, Leaving it slight domed, then UV cured again; Finally we sanded the whole piece with 600 grit wet/dry sand paper to smooth and level out the text portion to be even with body.

After white fill-in
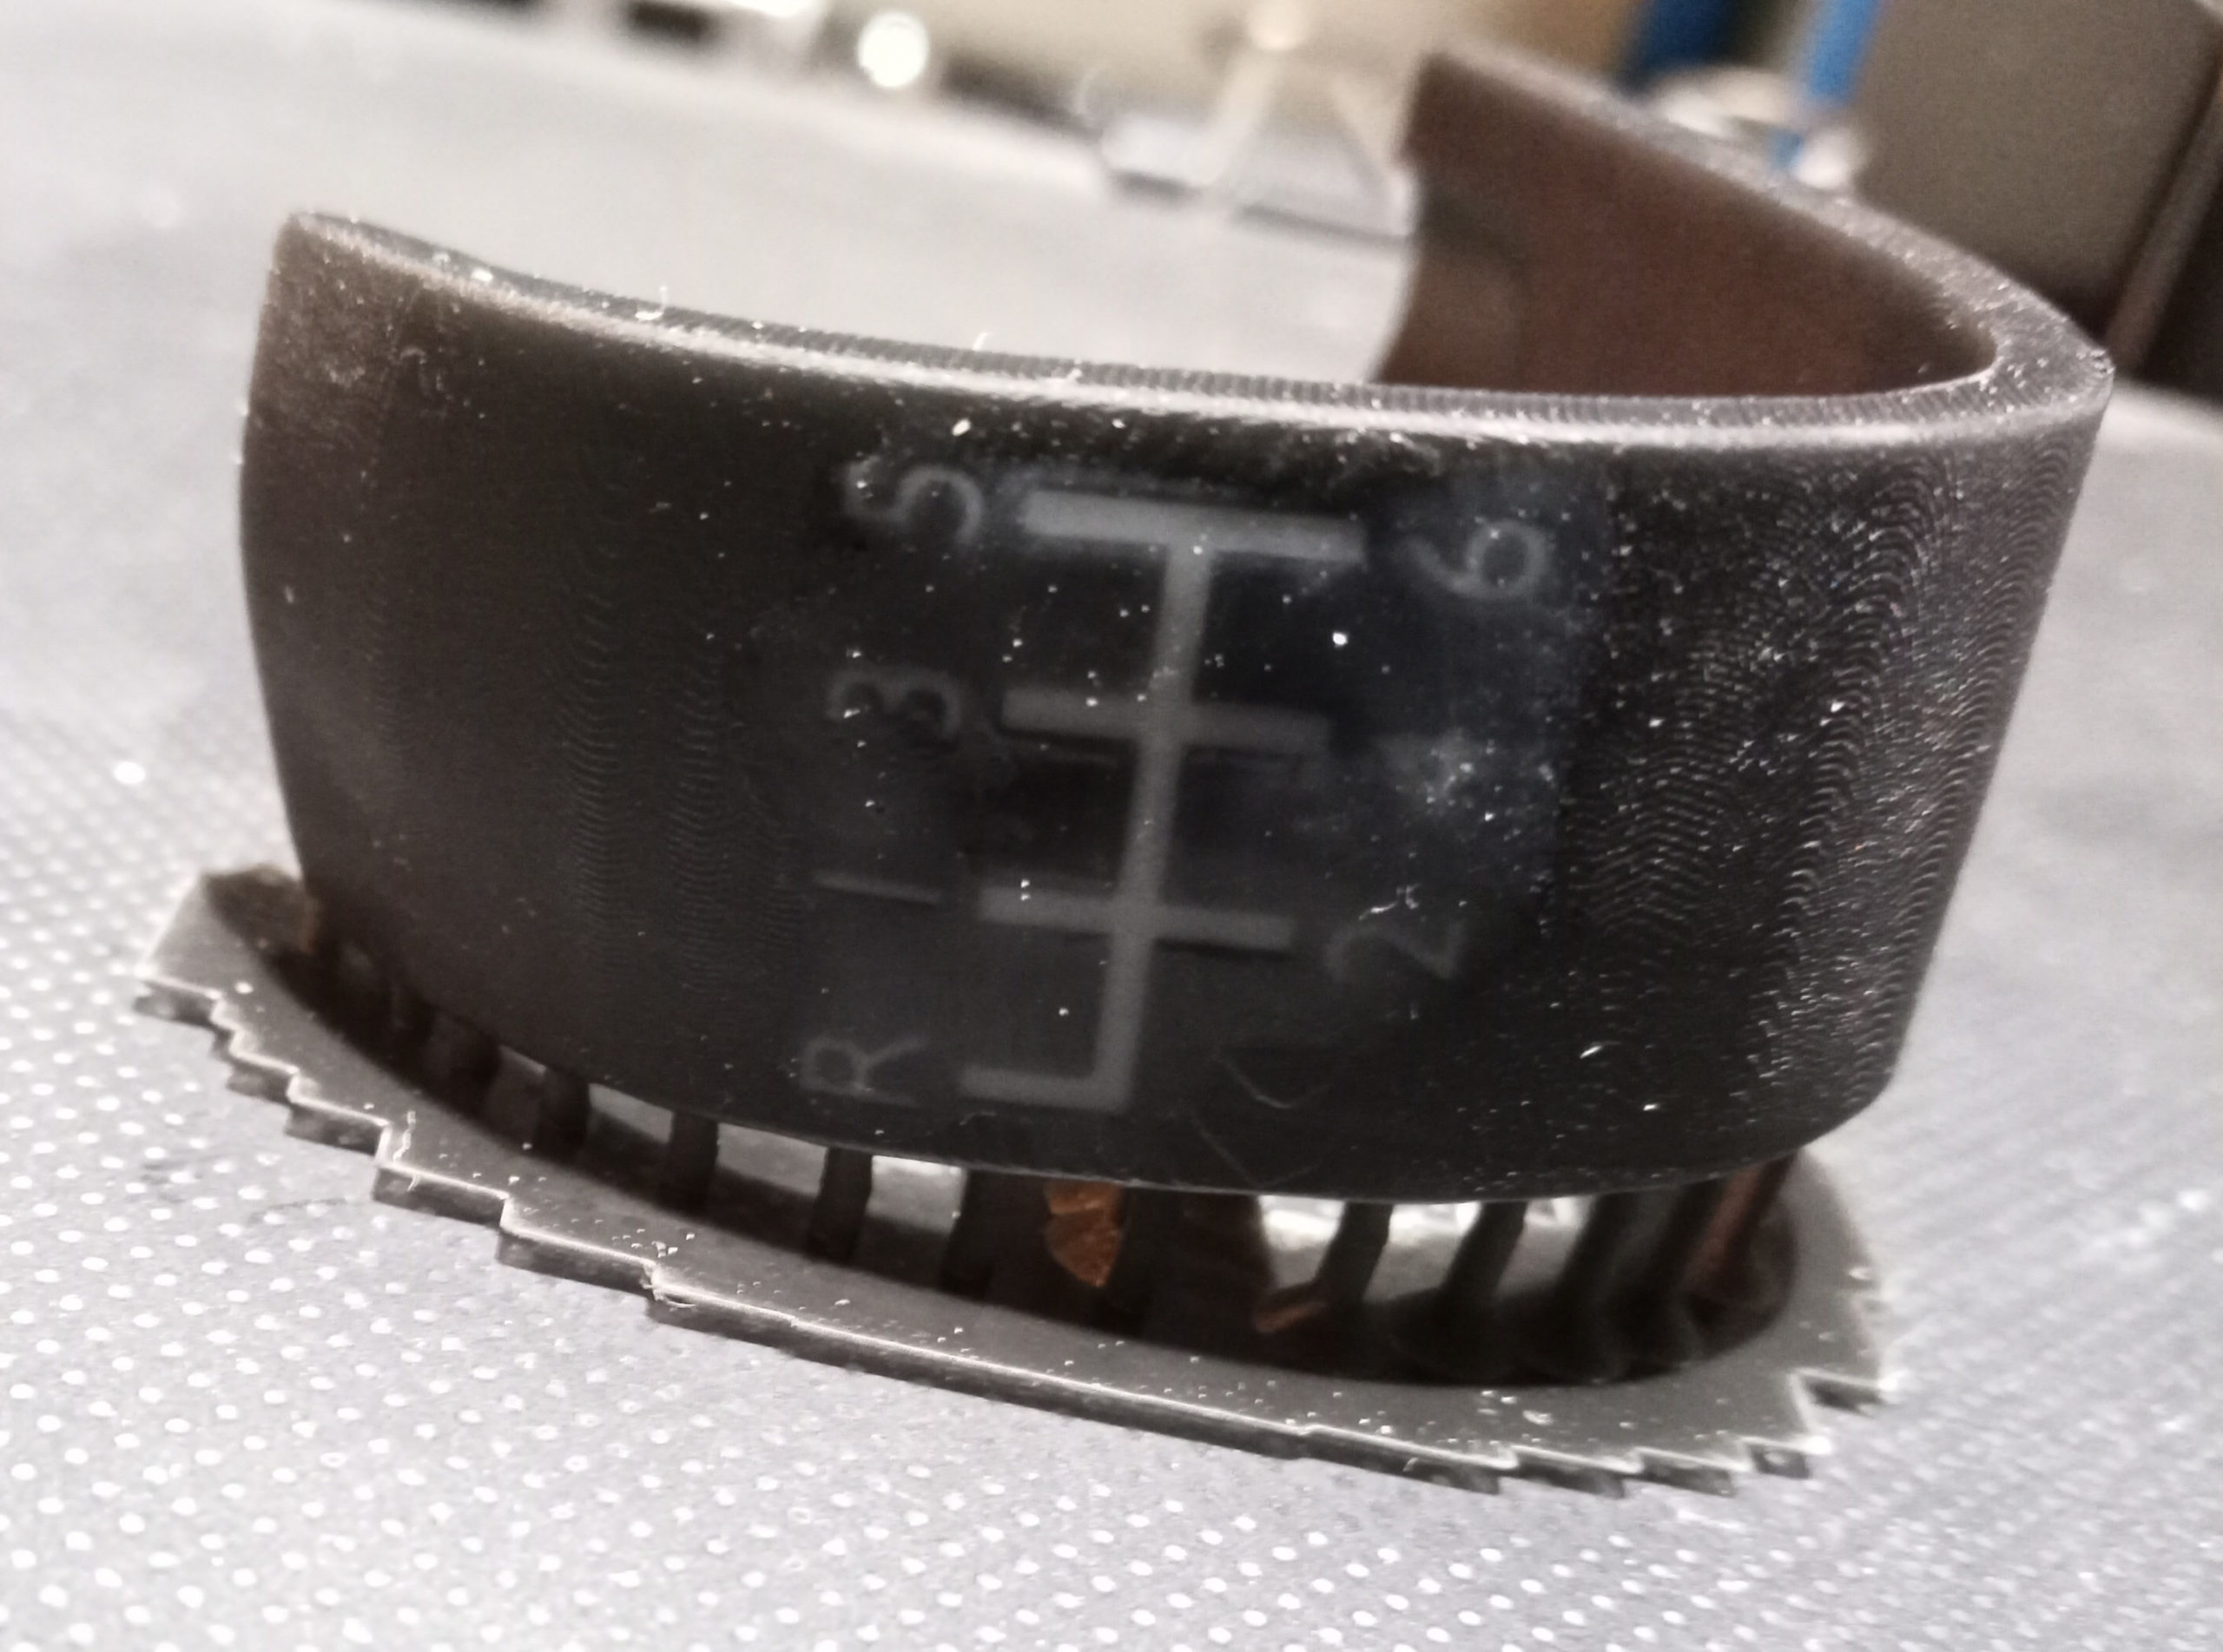
This whole process left quite a “chalky” appearance, so I grabbed a brush, dipped it into the original black resin, wiped off most of it, then proceeded to paint on a thin coat to the whole piece. Another UV cure and here is the result I was left with:

In its natural habitat

Follow Up (July 17th)
Here is the latest, better formed, version:
If you have the same vehicle, shoot me an email and I’ll send you the STL
If you enjoyed this article, please consider subscribing to our Email List and we hope to add more articles like this in the near future!
Good luck!
-Karlan T. Mitchell karlan@thirddimensiontexas.com
1 thought on “6 Speed Modeling”